Pumpkin enthusiasts and gardening aficionados, rejoice! Delving into the world of cultivating thriving pumpkins need not strain your budget. This comprehensive guide is your key to unlocking the art of DIY pumpkin fertilizers, promising not only practical solutions but also a rewarding journey toward bountiful harvests.
Gardening is not just a hobby; it’s a passion that connects us to the Earth. In this guide, we’ll traverse the realm of DIY pumpkin fertilizers, unveiling the secrets that transform a humble pumpkin patch into a flourishing haven. The journey is more than just a series of steps; it’s an exploration of sustainable practices, a celebration of growth, and a testament to the joy of nurturing nature.
So, fellow gardeners, prepare to embark on this exciting journey with us. We’ll guide you through the intricacies of formulating your DIY pumpkin fertilizers, ensuring not just healthy pumpkins but also a thriving garden ecosystem. From understanding the specific needs of your pumpkins to crafting nutrient-rich concoctions, this guide is your companion in creating a garden that flourishes with life.
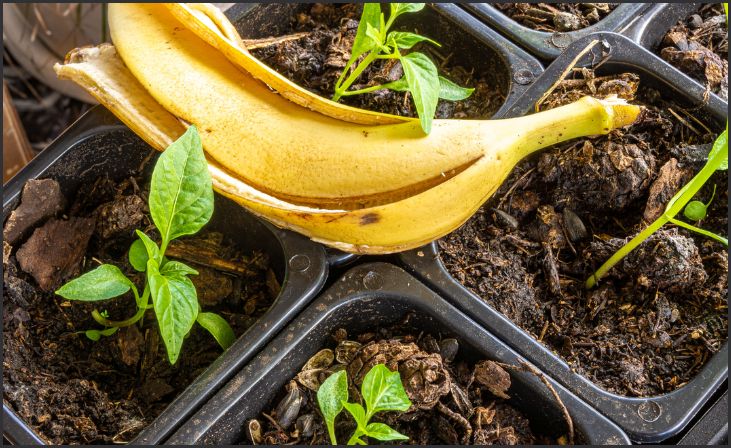
1. Banana Peel Fertilizer:

Save those banana peels to give your pumpkin plants a potassium boost. Potassium is a crucial nutrient for fruit development, and bananas are a rich source of it. After enjoying your banana snack, chop the peels into small pieces and bury them around the base of your pumpkin plants. As the peels decompose, they release potassium into the soil, supporting the growth of healthy and robust pumpkins. This natural and cost-effective fertilizer is a fantastic way to recycle kitchen waste while nourishing your garden.
2. Epsom Salt Solution:
Magnesium is essential for plant health, and Epsom salt is a convenient source of this vital nutrient. Create a simple Epsom salt solution by mixing a tablespoon of Epsom salt in a gallon of water. Water your pumpkin plants with this solution to provide them with the magnesium they need for various biochemical processes. Magnesium plays a key role in photosynthesis, enzyme activation, and nutrient absorption, contributing to overall plant vigor. Regular application of Epsom salt can help prevent magnesium deficiencies, ensuring your pumpkins thrive throughout the growing season.
3. Compost Tea:
Compost tea is a nutrient-rich elixir for your pumpkin plants. To make it, steep well-aged compost in water to extract its valuable components. This liquid fertilizer is a powerhouse of organic matter, beneficial microorganisms, and essential nutrients. Use it to water your pumpkin plants, delivering a concentrated dose of goodness directly to the root zone. Compost tea not only provides immediate nourishment but also enhances the soil structure, promotes microbial activity, and boosts the plant’s natural defenses. It’s a holistic approach to fertilization that supports the overall health and resilience of your pumpkin plants, leading to a more productive and sustainable garden.
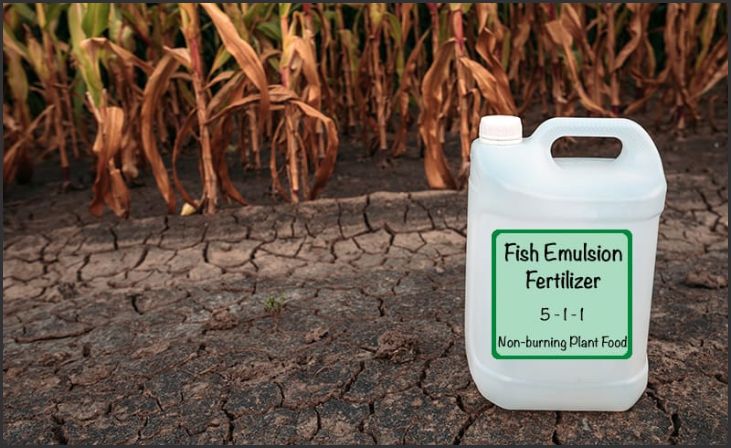
4. Fish Emulsion Fertilizer:

Pumpkins benefit from a nitrogen-rich diet, and fish emulsion is an excellent source of this essential nutrient. Derived from processed fish, this organic fertilizer provides a readily available form of nitrogen for plants. Dilute fish emulsion according to the package instructions and apply it to your pumpkin plants during the growing season. Nitrogen is crucial for the development of lush foliage, and a well-fed pumpkin plant is better equipped to support the growth of large, healthy pumpkins. Additionally, fish emulsion contributes to soil health by promoting microbial activity and improving nutrient availability. This natural fertilizer is a sustainable choice that aligns with eco-friendly gardening practices, ensuring a thriving pumpkin patch.
5. Coffee Grounds Mulch:
Don’t discard your used coffee grounds—put them to work in your pumpkin patch. Coffee grounds serve a dual purpose as a natural mulch and a soil amendment. Spread the grounds around the base of your pumpkin plants to create a protective layer that helps retain moisture, suppress weeds, and regulate soil temperature. As the coffee grounds break down, they release nitrogen, adding a nutrient boost to the soil. Pumpkins, like many plants, benefit from a steady supply of nitrogen for robust growth and development. The gradual decomposition of coffee grounds also improves soil structure and encourages earthworm activity. This eco-friendly practice not only recycles kitchen waste but also contributes to the overall health and fertility of your garden soil.
6. Eggshell Powder:
Give your pumpkin plants a calcium boost with the help of eggshells. Calcium is essential for preventing blossom end rot, a common issue in growing pumpkins. To harness the benefits of eggshells, crush them into a fine powder and sprinkle it around the base of your pumpkin plants. As the eggshell powder breaks down, it releases calcium into the soil, providing a slow and steady supply to the developing pumpkins. This method is particularly useful in areas where calcium deficiency may be a concern. By fortifying the soil with eggshell-derived calcium, you’re taking a proactive step to ensure the health and quality of your pumpkin harvest. It’s a simple yet effective DIY solution that promotes strong and resilient pumpkins.
Also Read:- BEST PUMPKIN CARVING TECHNIQUES FOR BEGINNERS
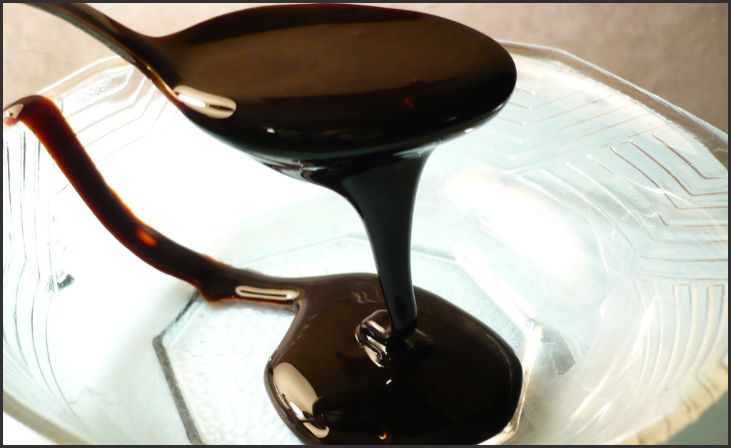
7. Molasses Mix:

Sweeten the deal for your pumpkin plants with a molasses mix. Molasses, a byproduct of sugar production, is rich in sugars that serve as a food source for beneficial soil microbes. Mix a tablespoon of molasses with a gallon of water and use it to water your pumpkin plants. This sugary concoction stimulates microbial activity in the soil, creating a thriving ecosystem beneath the surface. Beneficial microorganisms play a crucial role in nutrient cycling, breaking down organic matter, and improving soil structure. By feeding these microbes, you’re enhancing the overall fertility and health of your garden soil. The result is a well-balanced and dynamic growing environment that supports the nutrient needs of your pumpkin plants. Incorporating molasses into your fertilization routine adds a touch of sweetness to your gardening efforts, promoting a flourishing pumpkin harvest. Happy gardening!
Benefits of DIY Pumpkin Fertilizers
Venturing down the do-it-yourself (DIY) route for your beloved pumpkin patch opens the door to a myriad of benefits. Prepare to witness a garden transformation as enhanced growth and increased yield become the hallmark of your gardening endeavors, all while maintaining a prudent eye on your expenses. This sustainable approach isn’t merely about nurturing your plants; it’s a strategic win-win scenario, fostering both your garden’s vitality and the financial health of your gardening pursuits.
Also Read:- PUMPKIN HARVESTING AND STORAGE
The advantages of adopting DIY pumpkin fertilizers extend beyond the lush greenery and abundant harvests. Picture a garden where your pumpkins thrive, displaying robust health and vitality, all thanks to the customized care provided by your homemade fertilizers. As you embark on this journey, the financial aspect of gardening need not be a hindrance but rather a dynamic element in your favor.
Consider the economic benefits of crafting your own fertilizers – a practice that not only significantly cuts down on costs but also promotes a sense of resourcefulness. By utilizing readily available materials and embracing sustainable practices, you’re not just nurturing your plants but also demonstrating a commitment to environmental consciousness. This eco-friendly approach aligns perfectly with the modern gardener’s ethos, creating a harmonious balance between cultivating a flourishing garden and being mindful of your budget.
Conclusion
Embark on your do-it-yourself (DIY) pumpkin fertilizer journey with unwavering confidence, equipped with the invaluable knowledge and insights generously shared in this guide. As you delve into the intricacies of crafting your own fertilizers, envision the remarkable transformation awaiting your pumpkin patch – a metamorphosis that will turn it into a flourishing haven of vitality and abundance. Brace yourself for the joyous culmination of your efforts, relishing the fruits of your labor when harvest time arrives.
This guide serves as your trusted companion, offering a roadmap to navigate the fascinating world of DIY pumpkin fertilizers. Armed with newfound knowledge, you’ll discover the art and science behind cultivating a garden that not only sustains but thrives. Your journey begins with the formulation of custom fertilizers tailored to the unique needs of your pumpkins, setting the stage for a gardening experience that goes beyond the ordinary.
FAQs
Absolutely! Many DIY fertilizers work well for various plants, providing a cost-effective and sustainable solution for your entire garden.
The frequency of application depends on factors like soil quality and weather. Generally, a monthly application during the growing season is beneficial.

Leave a Reply